Pikmin 4 Dandori Challenges: Build a Better Practice Plan
Improve Pikmin 4 Dandori attempts with dependency planning, task allocation, route review and a useful practice log instead of invented medal routes.
FAQ
Is this a platinum walkthrough?
Are Dandori Challenges, Battles and Academy identical?
What should your starting plan contain?
Before chasing a medal, identify the first two jobs and what each unlocks. One may remove an obstacle while the other begins a safe delivery. A good opening is understandable enough to repeat. If the opening depends on a precise enemy behavior you have not observed, mark that assumption and test it before building the rest of the route around it.
The plan should include a recovery point: where you will regroup if a task stalls. A route that only works when everything goes perfectly can be harder to improve than a slightly slower route with a clear fallback.
How do you prioritize targets and clear obstacles?
Prioritize by dependency as well as reward. An obstacle on several carrying paths can block more progress than a distant high-value object helps. Scout the actual delivery route, then decide whether removing that obstacle enables enough work to justify the time.
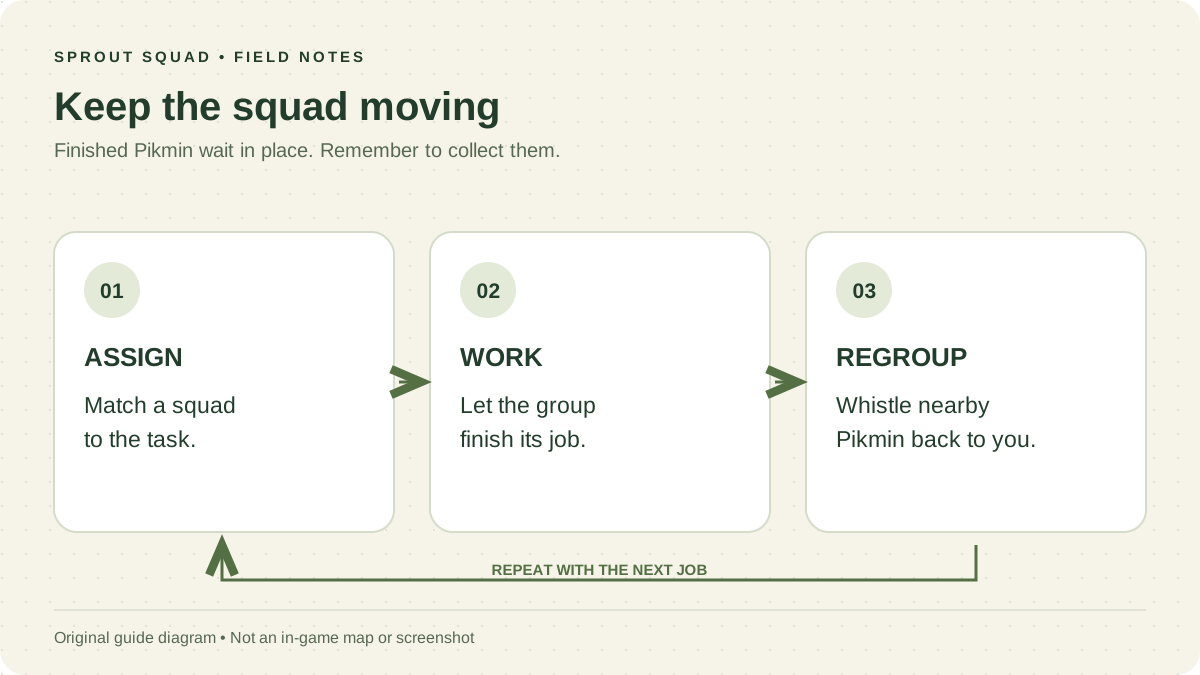
Do not call a route optimal because it looks short on a diagram. Carrying paths, worker availability and time spent issuing commands can change the result. Our diagram is an original planning loop, not a map of a specific stage.
How do you divide Pikmin and Oatchi tasks?
Give each group a job with a visible end condition. Keep enough unassigned workers to react, but review a large idle reserve: it may indicate that the next task was never prepared. Assign Oatchi deliberately to carrying, movement or combat rather than moving him between half-finished jobs without a reason.
The type reference helps with hazard matching; the Oatchi guide explains training tradeoffs. Neither replaces checking the actual starting resources of a timed course.
What should you record after each attempt?
| Record | Useful example |
|---|---|
| Opening | The first two tasks and when you regrouped |
| Bottleneck | A delivery stopped at an uncleared obstacle |
| Change | Clear that obstacle before assigning the second group |
| Result | Your observed score or time, written exactly as shown |
| Uncertainty | Enemy timing was inconsistent; needs another attempt |
Compare one change at a time. If you change the opening, squad allocation and final target together, a better score will not tell you which decision mattered.
How should you approach medals and Academy exams?
Read the threshold displayed by the actual course. This site does not calculate medals from unverified numbers or promise a platinum route. Academy has its own practice, exam and retry rules; use the Academy guide for those confirmed boundaries. Keep your practice result separate from a scored exam result and never assume that completing one fulfills a reward condition for the other.
Which sources were checked?
Verified 3 November 2026. Official confirmations and community references are labeled below. Advice is original editorial planning guidance; no personal gameplay test or optimal route is claimed.
Related Articles
exploration
Pikmin 4 Areas Guide: Where Your Adventure Takes You
Compare the six main Pikmin 4 exploration areas and use a location-first planning method for caves, treasures and return visits.
exploration
Pikmin 4 Cave Guide: Prepare, Explore and Return Safely
Prepare a Pikmin 4 cave squad, distinguish wild type access from Onion unlocks, and check each floor before moving deeper.
exploration
Pikmin 4 Treasure Guide: Collect, Check and Track
Use the Radar Map, Treasure Gauge and a local checklist to find missing Pikmin 4 treasures without confusing surface, cave and pile progress.
Was this helpful?
Thanks for the feedback!